Everything you need to know
to build your Agave surfboard
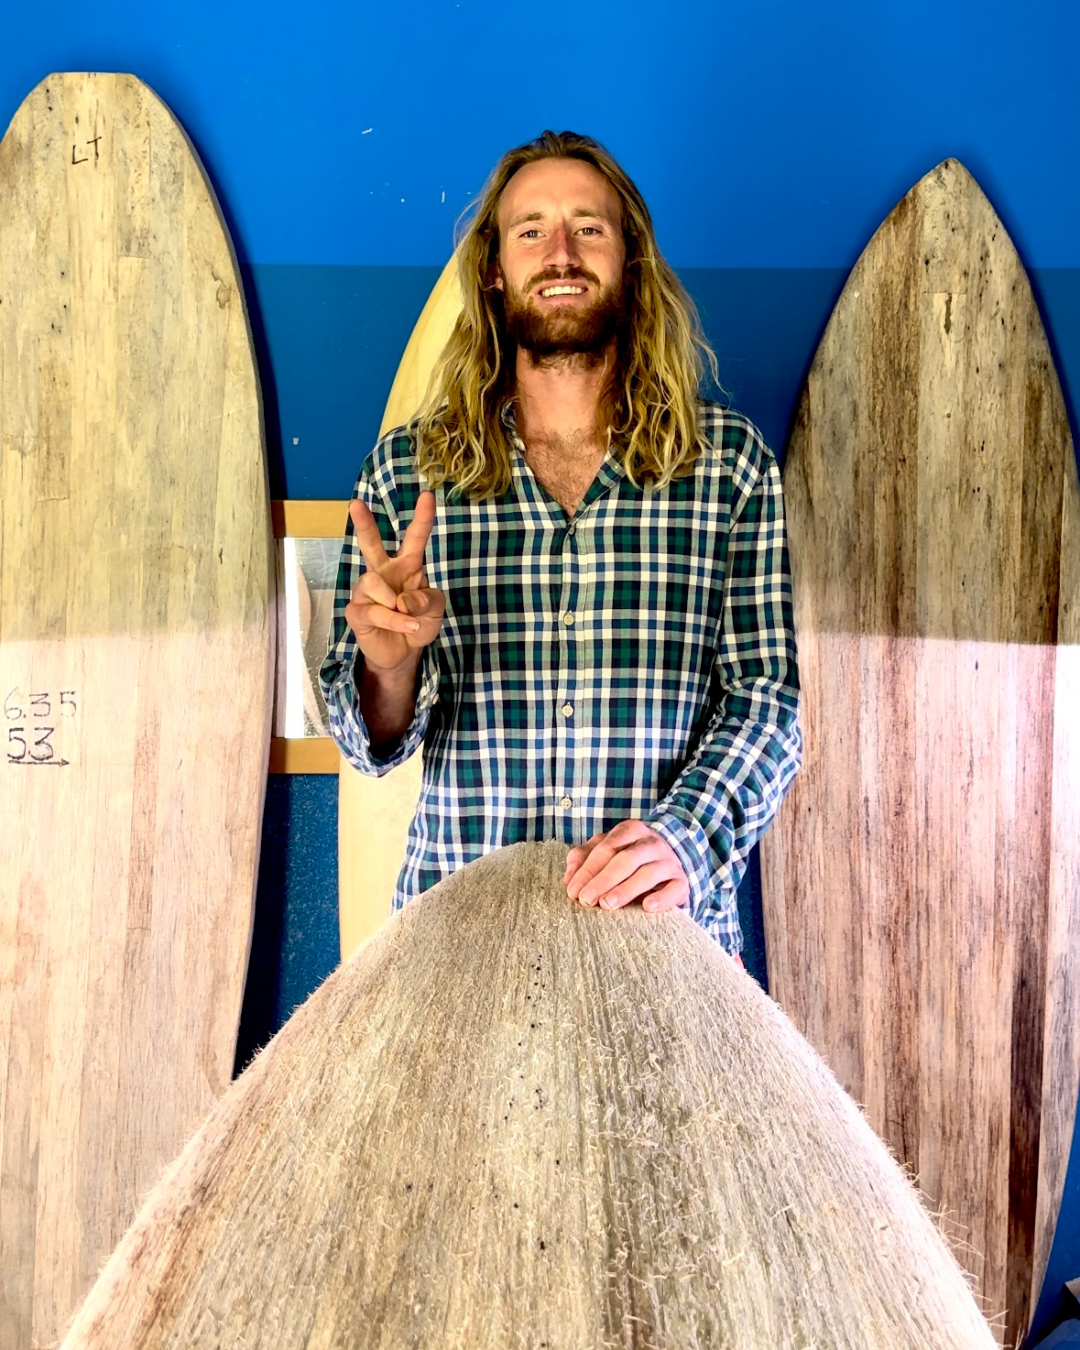
How to shape Agave Boards
On this page, you'll find everything you need to get started with shaping surfboards from our sustainable Agave blanks. We've curated a selection of YouTube videos and provided a detailed downloadable guide to walk you through each step of the process. Whether you're an experienced shaper or a beginner, our resources will help you craft an eco-friendly surfboard.
STEP 1
Measure your Stringer
- All blanks have a center pole. From the two glue lines of the center pole you can measure your stringer through the entire board.
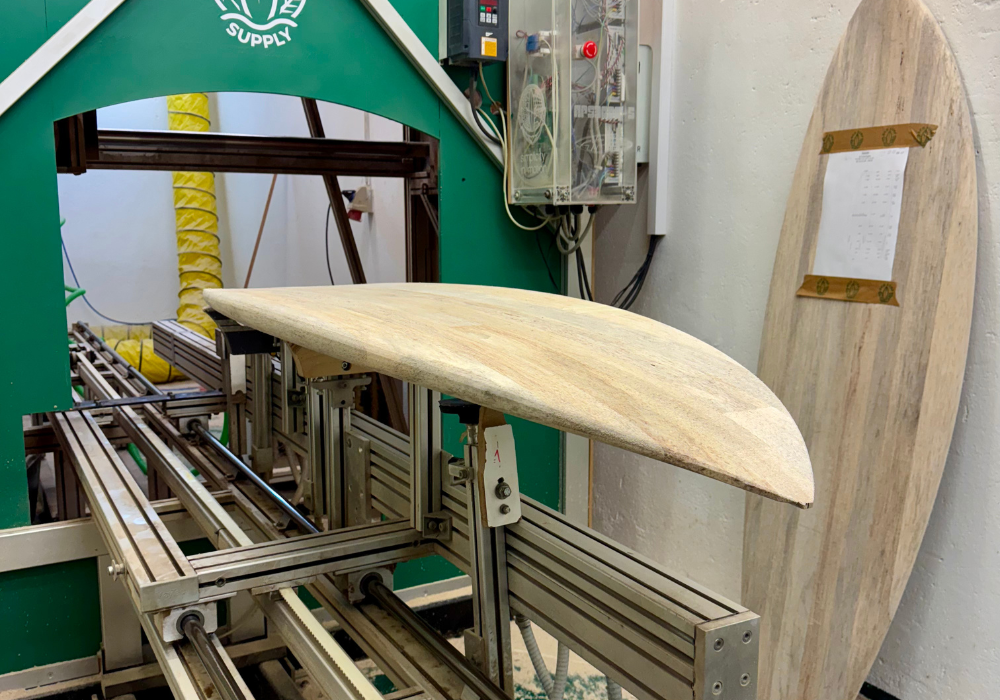
CNC Preshape
- Finger router or blade both are possible but blade gives better finish / recommended for VL blanks
- Drilling speed as maximum / running speed VL 80%, LT 65%, STD 50% (for both machines)
Hand shaping
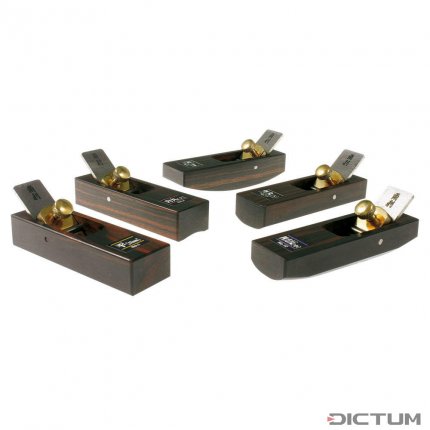
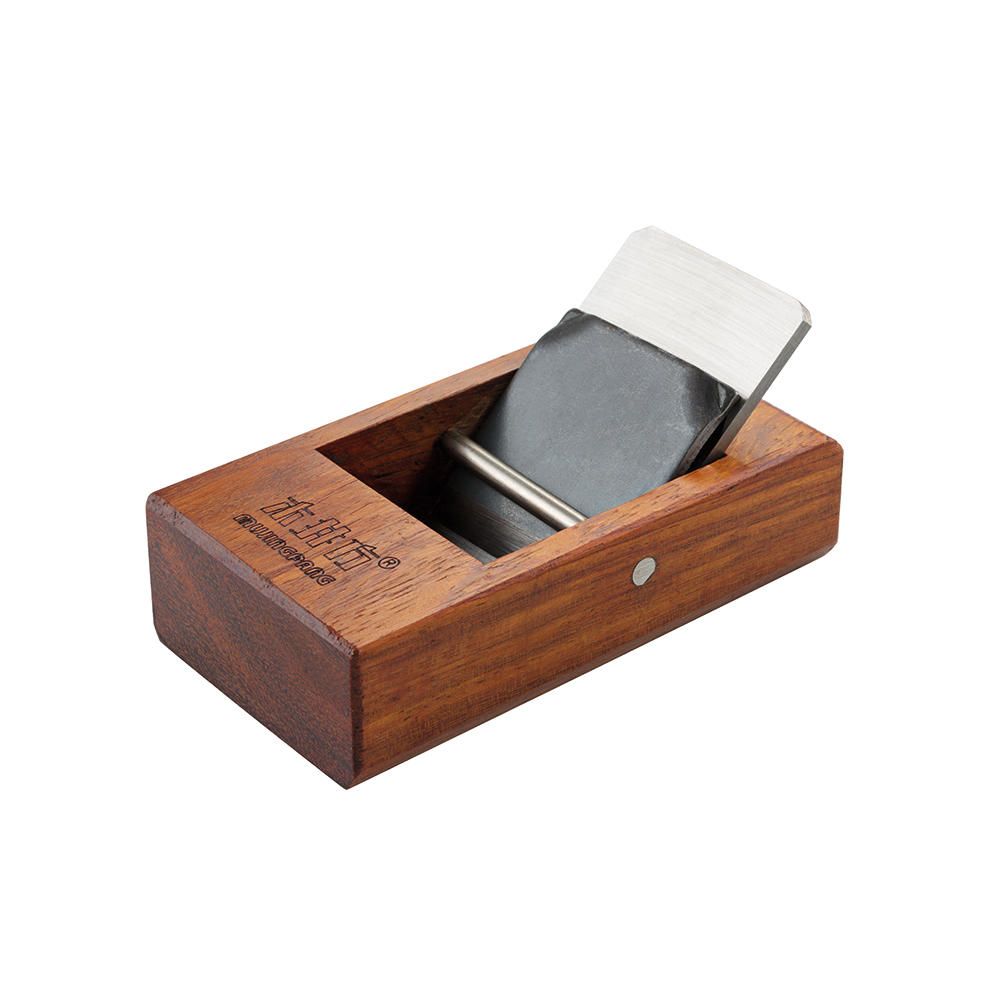
- Shape as much with a planer. The planer is made for wood and cuts agave even better than foam.
Video Tutorial
Product recommendations
STEP 2
Good to know
Sanding
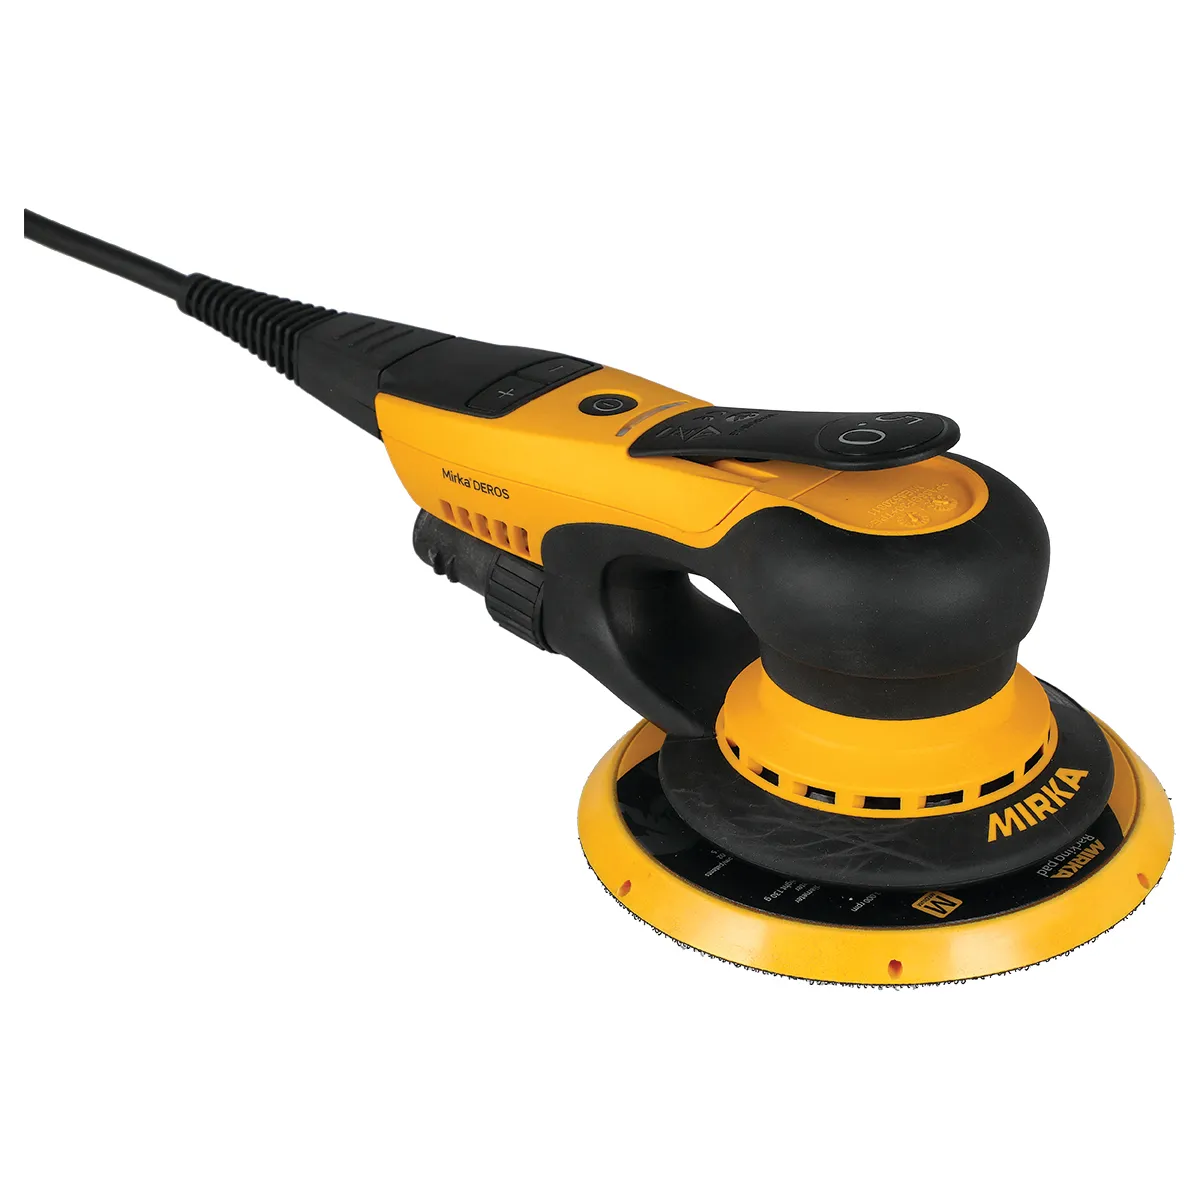
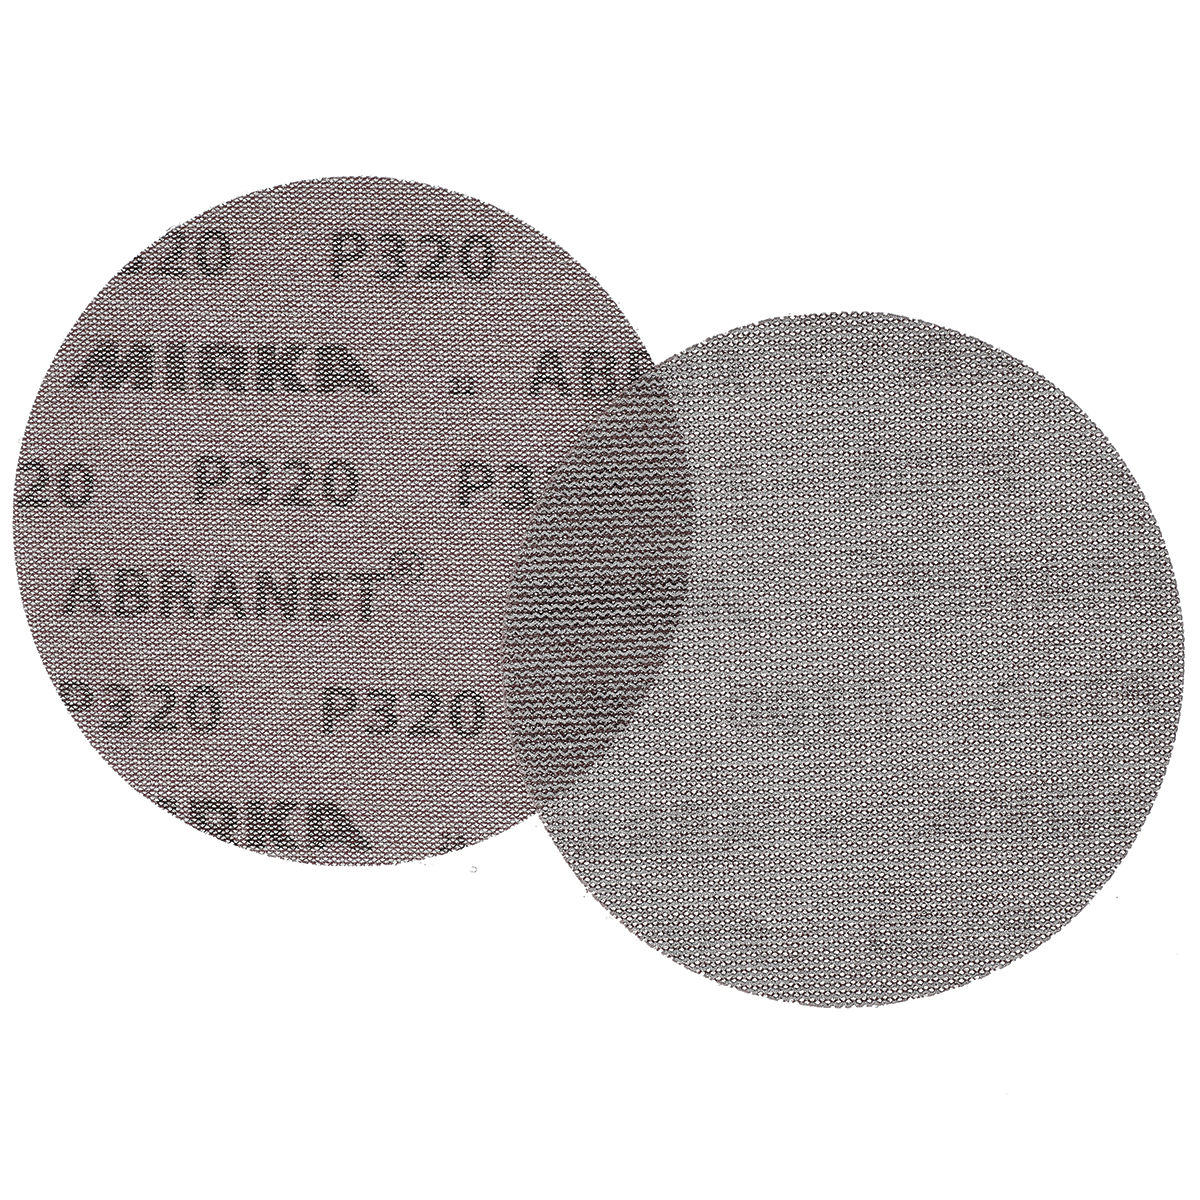
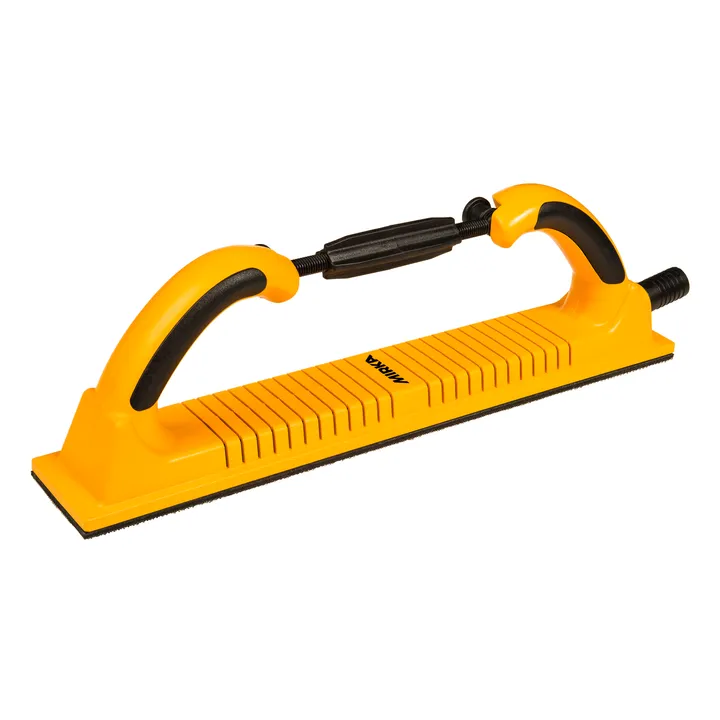
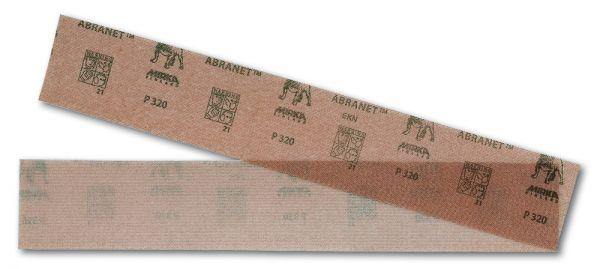
- Start with the hardest pad you have to avoid dings in softer areas due to slightly different densities. In the best case you use the Mirka sanding block or the Mirka Deros connected to the vacuum dust absorber.
- The most complicated part is sanding the rails, like on a longboard with multiple stringers.
TIP: Use a measuring tool to bend in a smooth curve and check for flat spots in the outline. - After sanding, you can use the hand planer to reduce the glue lines that may pop out a little.
Video Tutorial
Product recommendations
STEP 3
Milling Finboxes
- Draw your finboxes and cut them as usual.
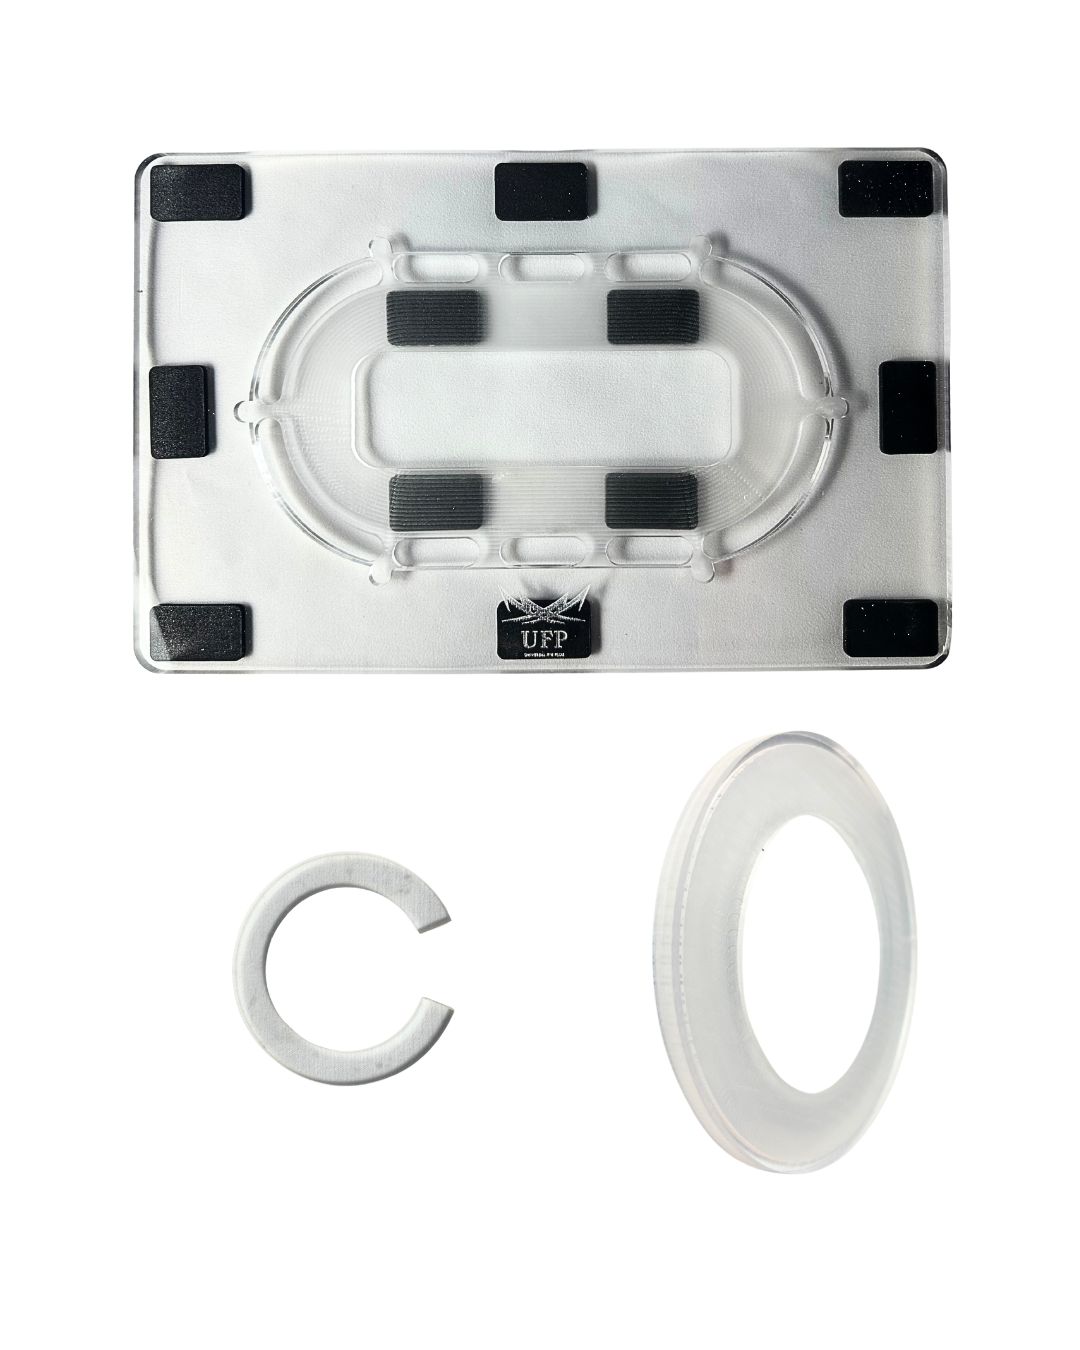
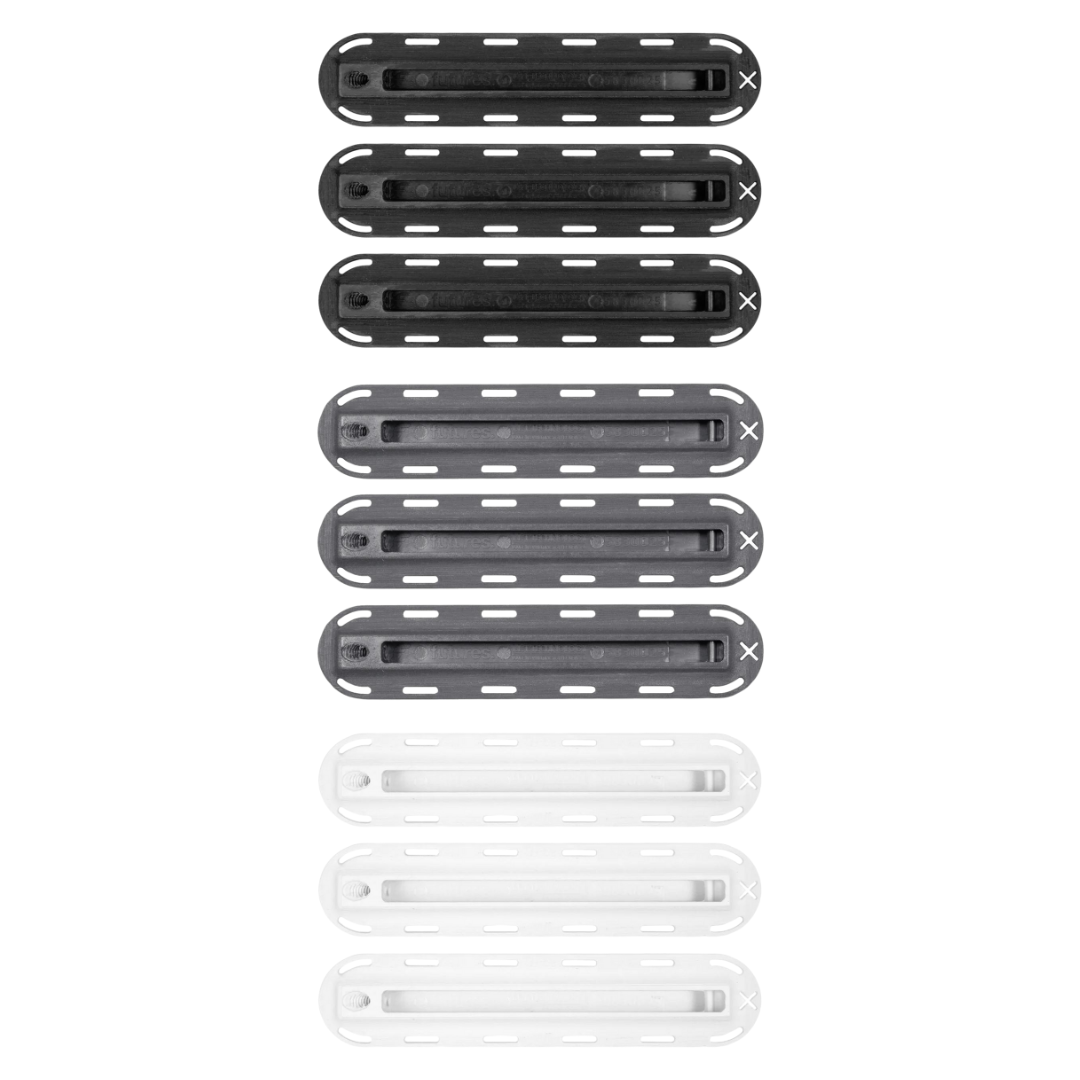
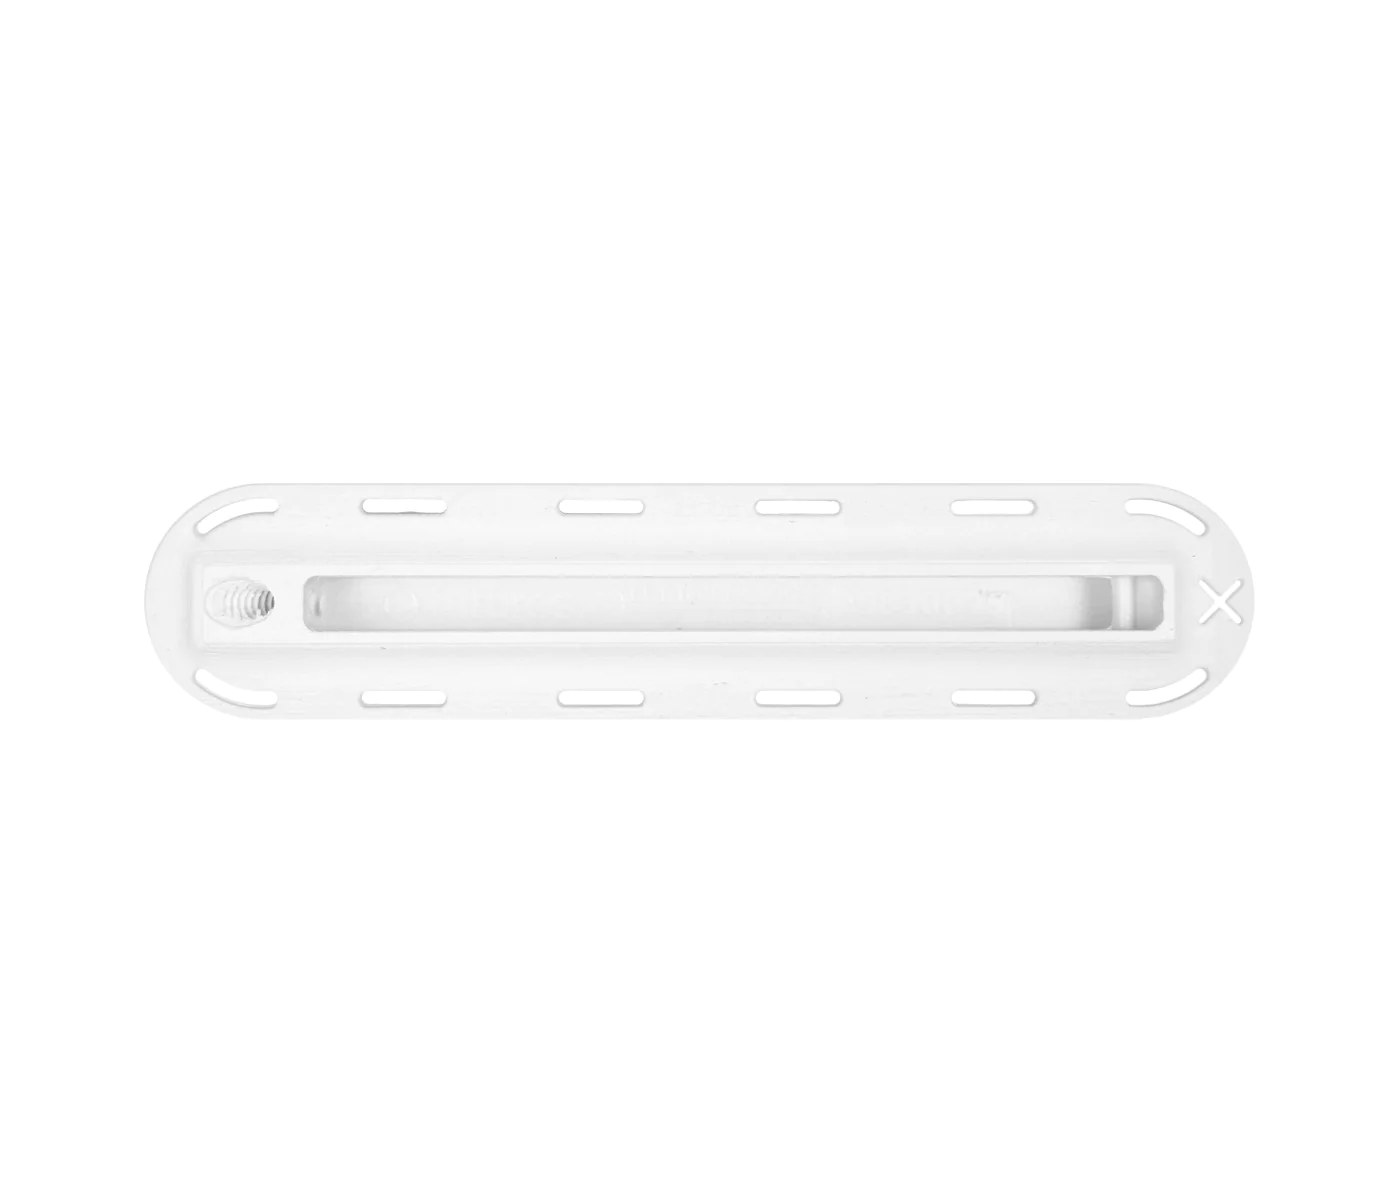
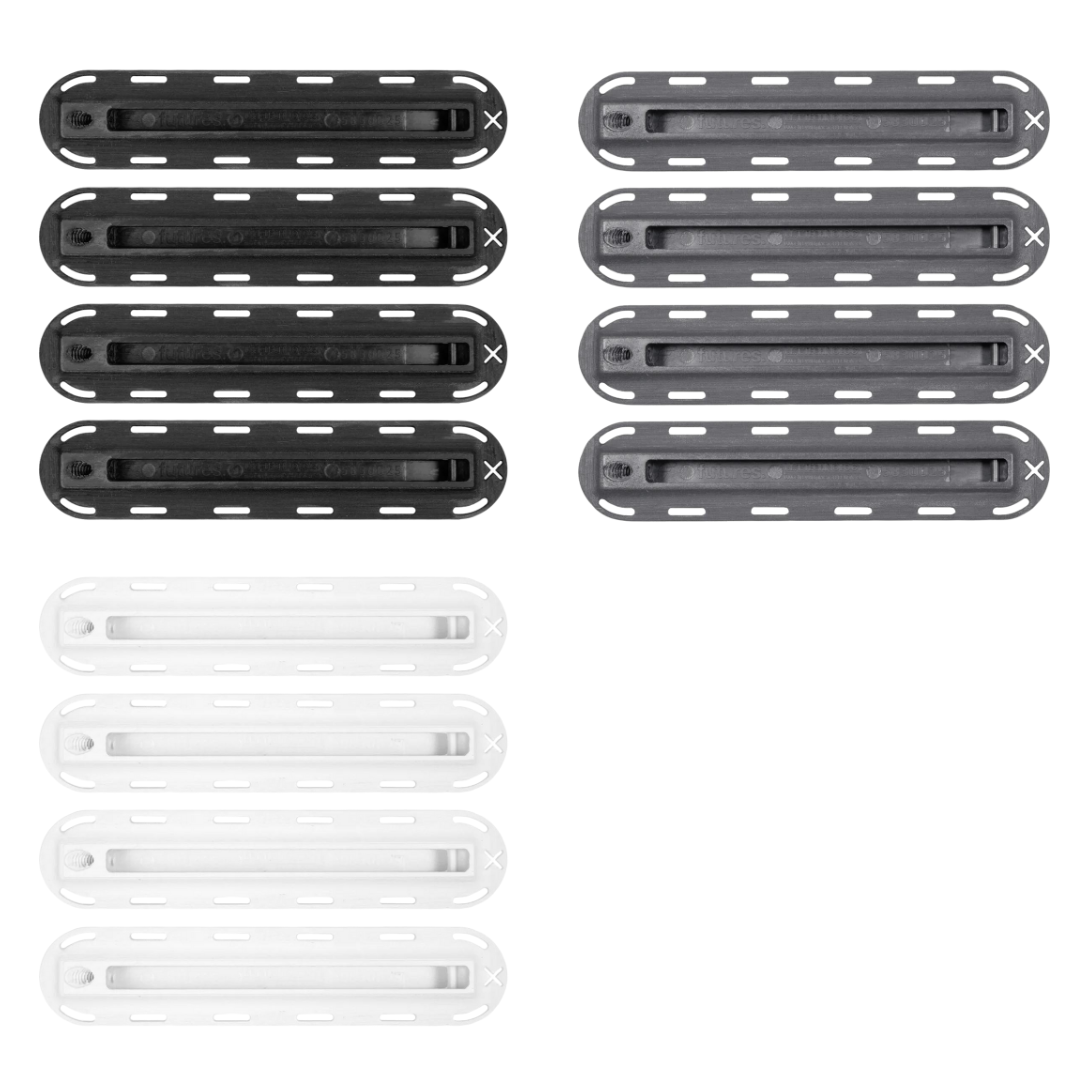
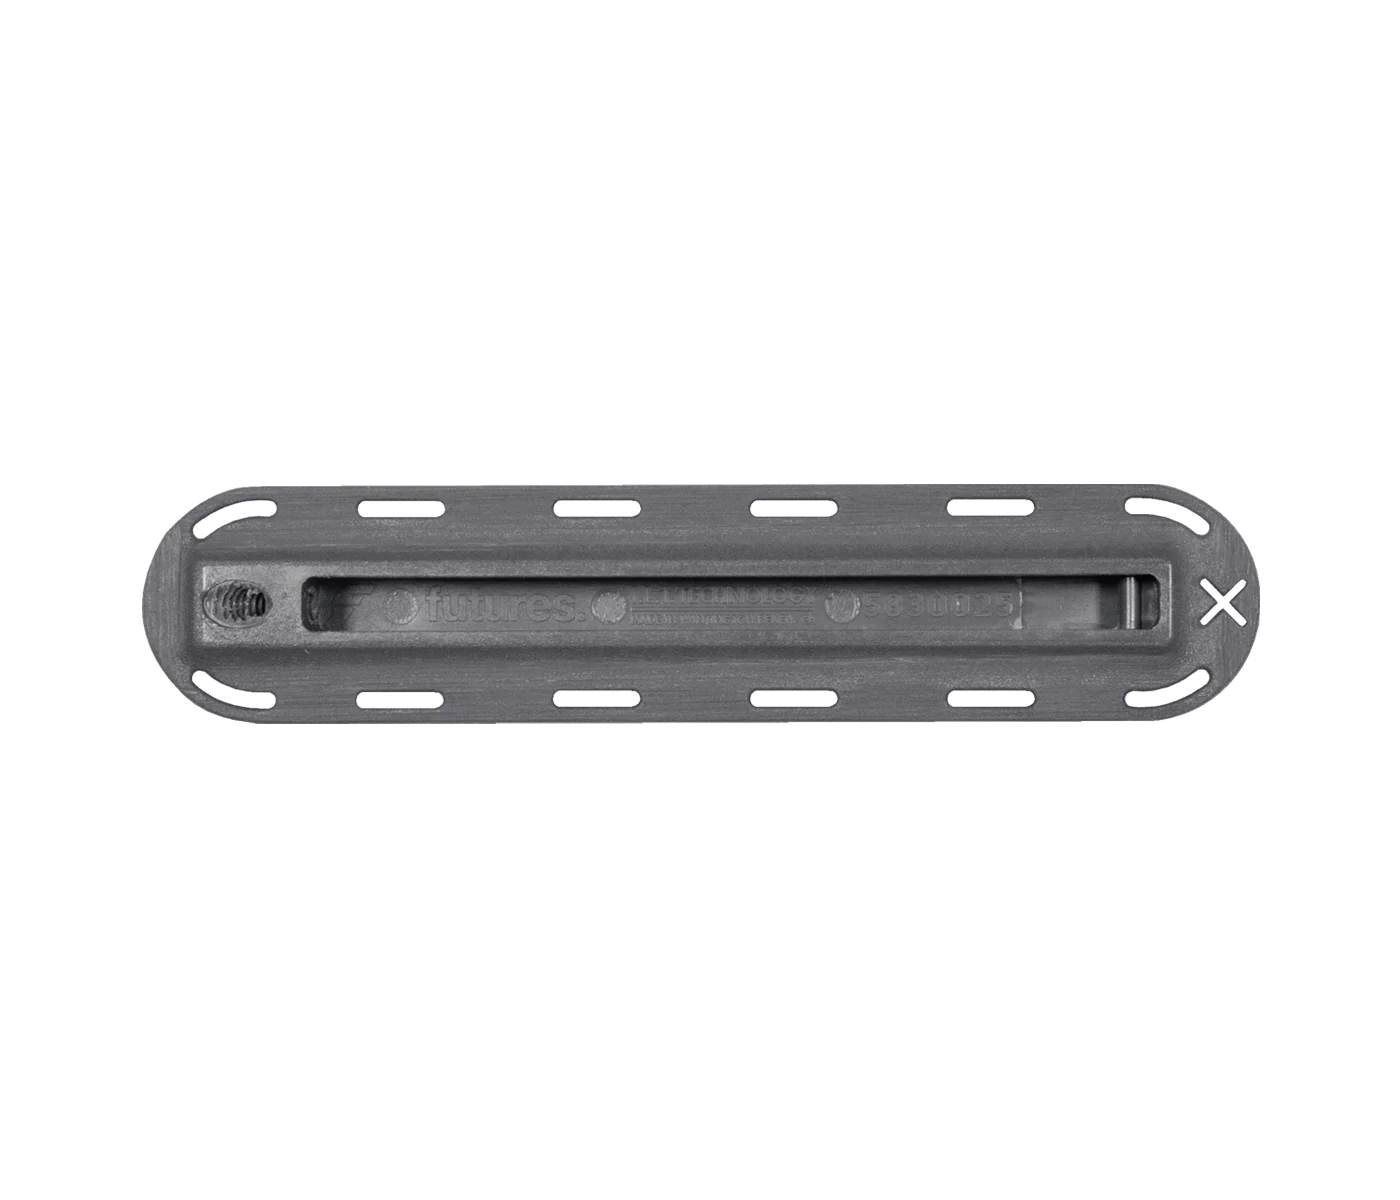
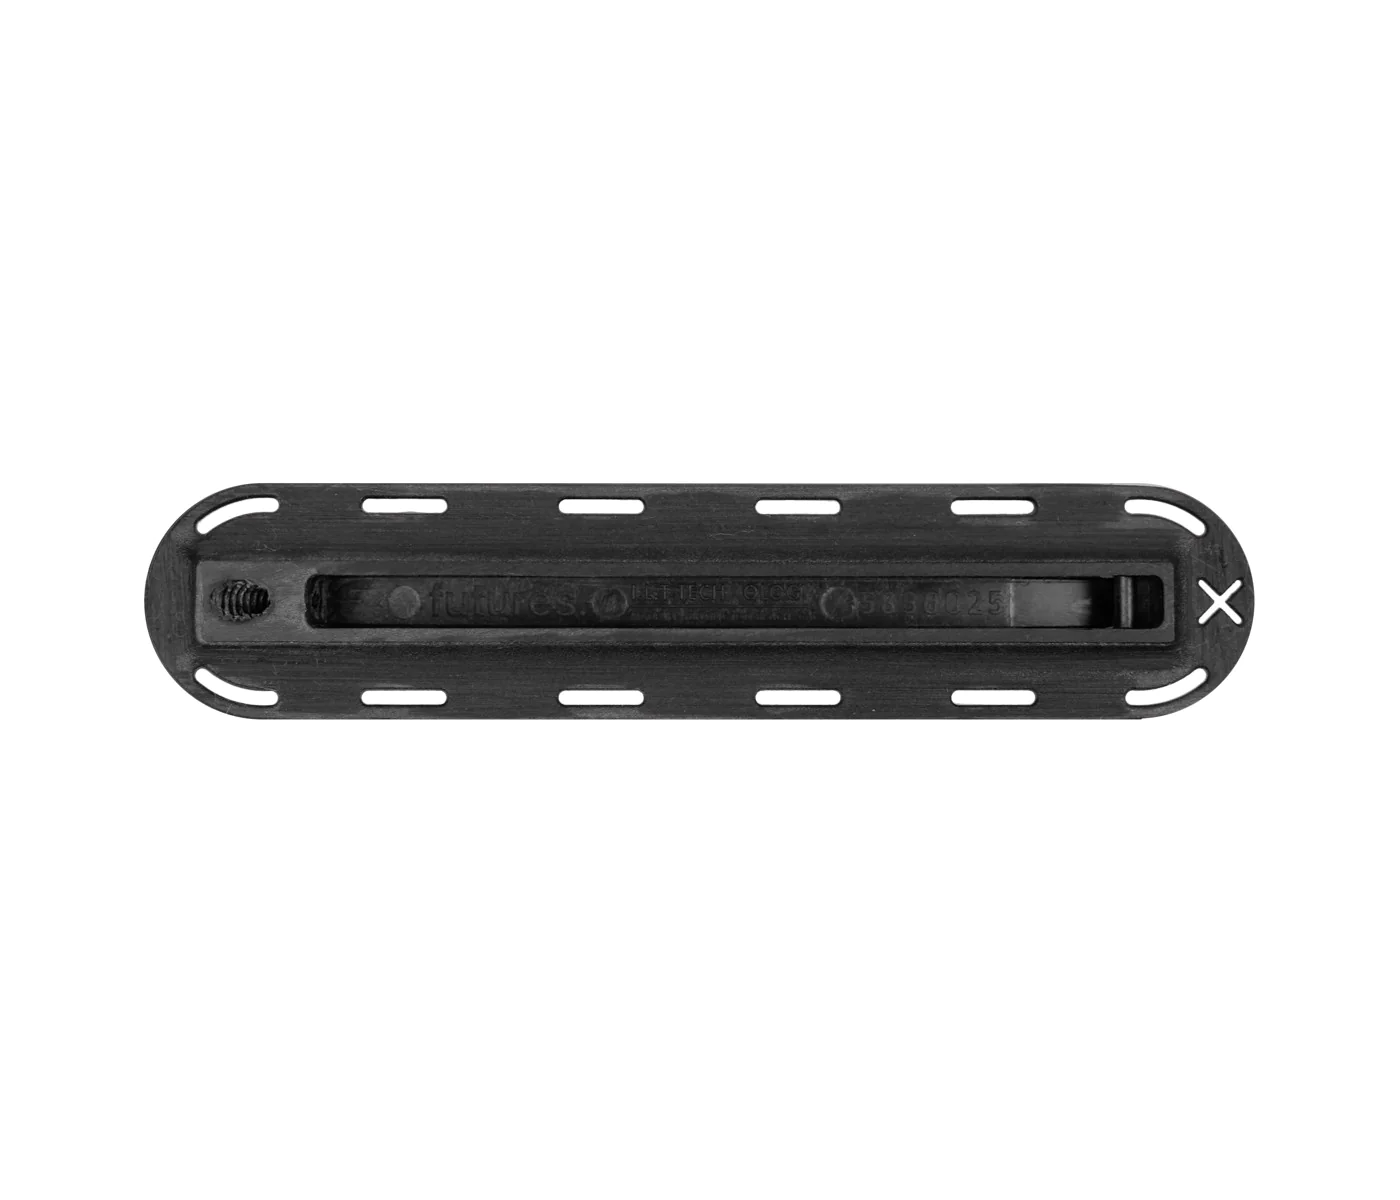
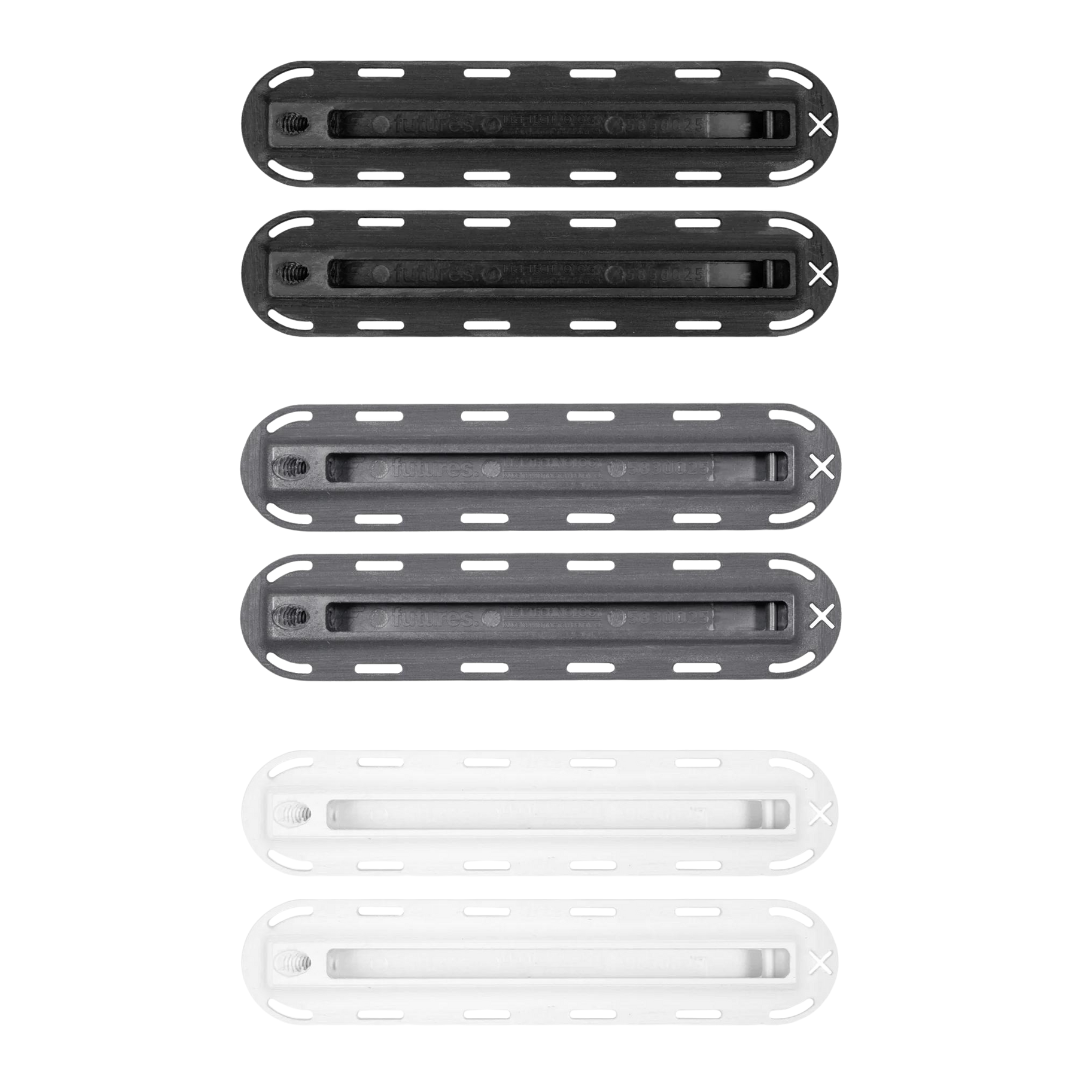
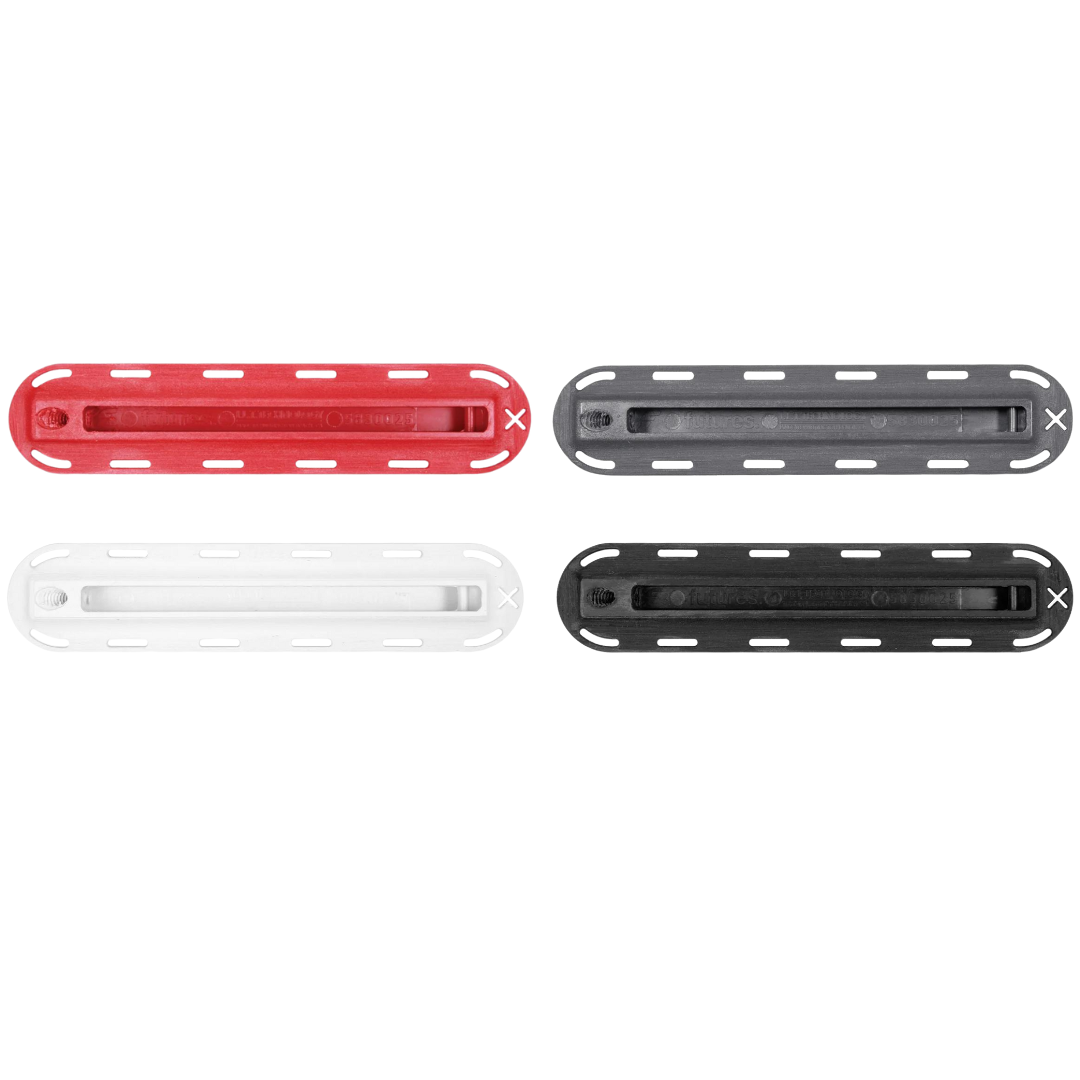
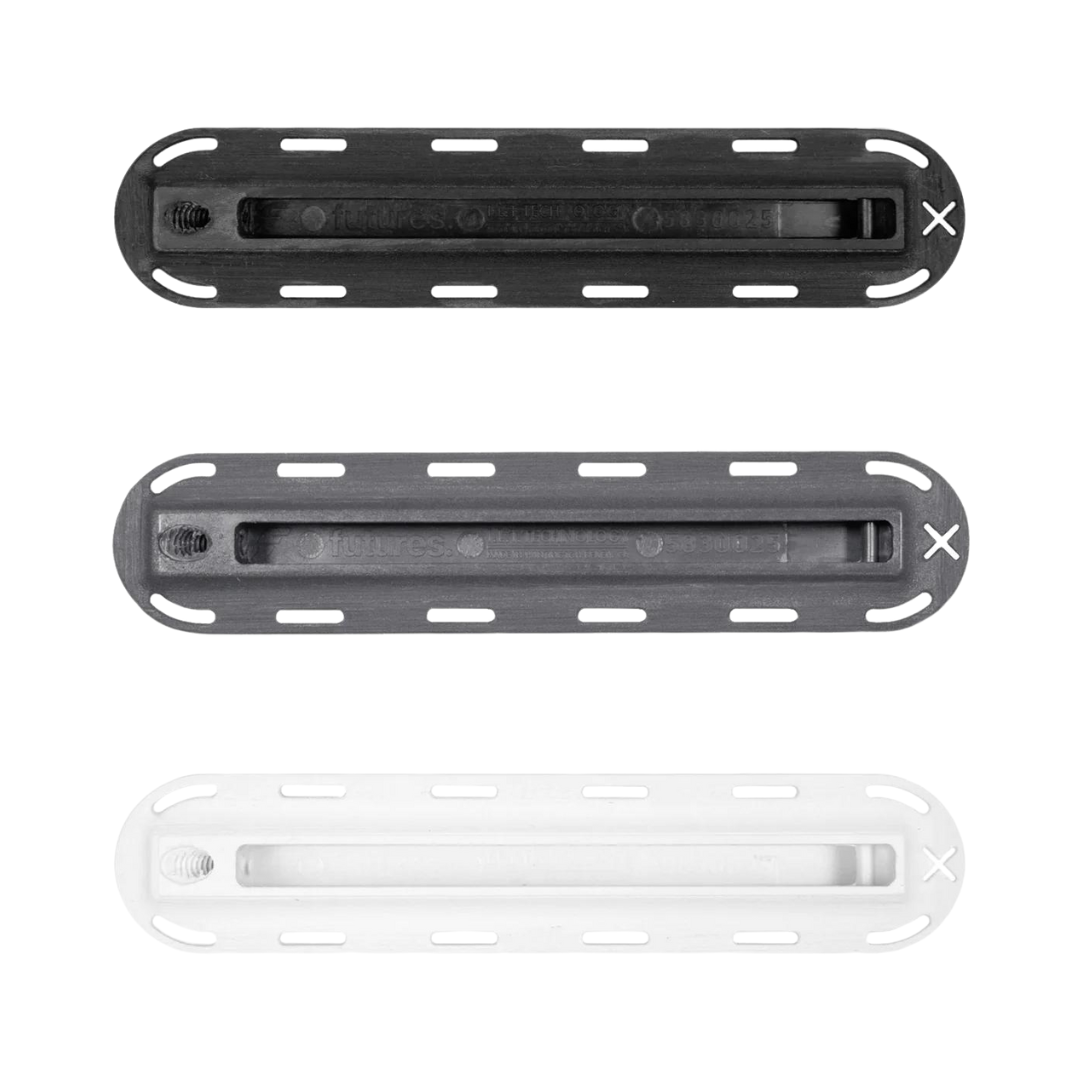
- We recommend the use of UFP finplugs. The most versatile and strongest finplugs, that are suitable for Futures and FCS systems. The only finplug on the market with recycled content.
Video Tutorial
Product recommendations
STEP 4
Sealing
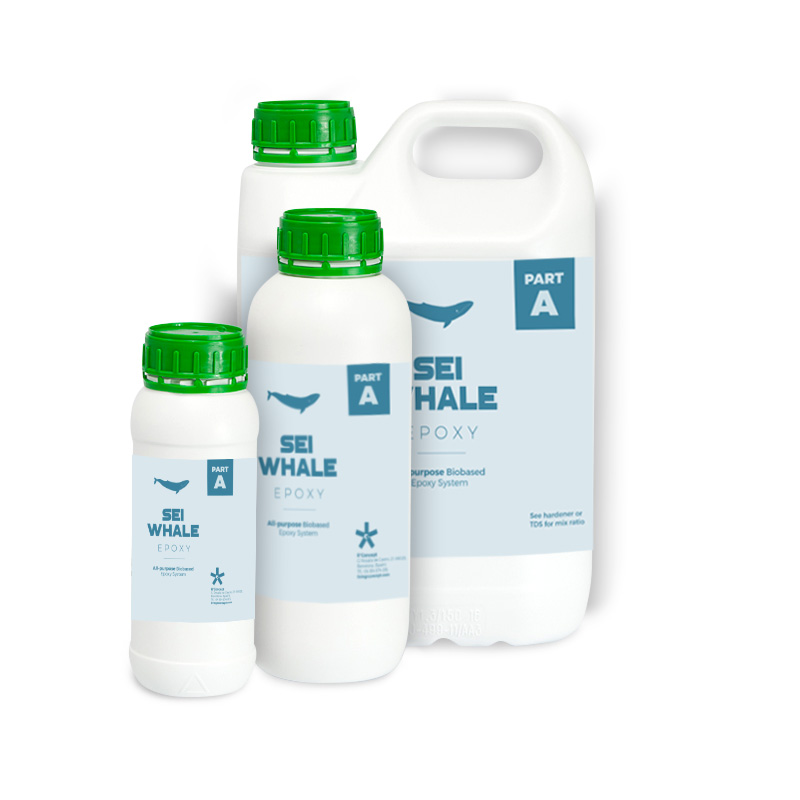
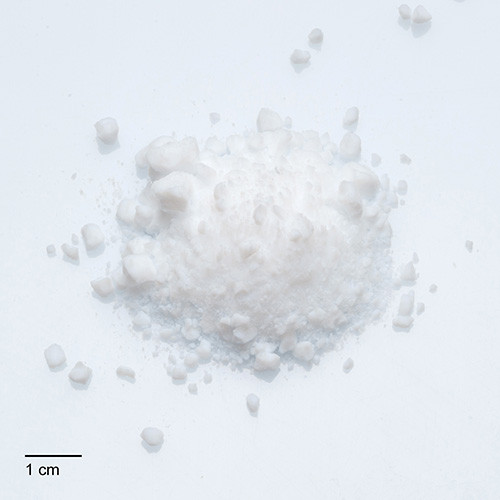
- It is necessary to make a filler coat with Eco Epoxy and Aerosil (silica) 50/50 by volume. It also works with polyester, but be careful with the amount of hardener in the polyester resin. Make sure the resin bonds to the agave core. Avoid too rapid curing.
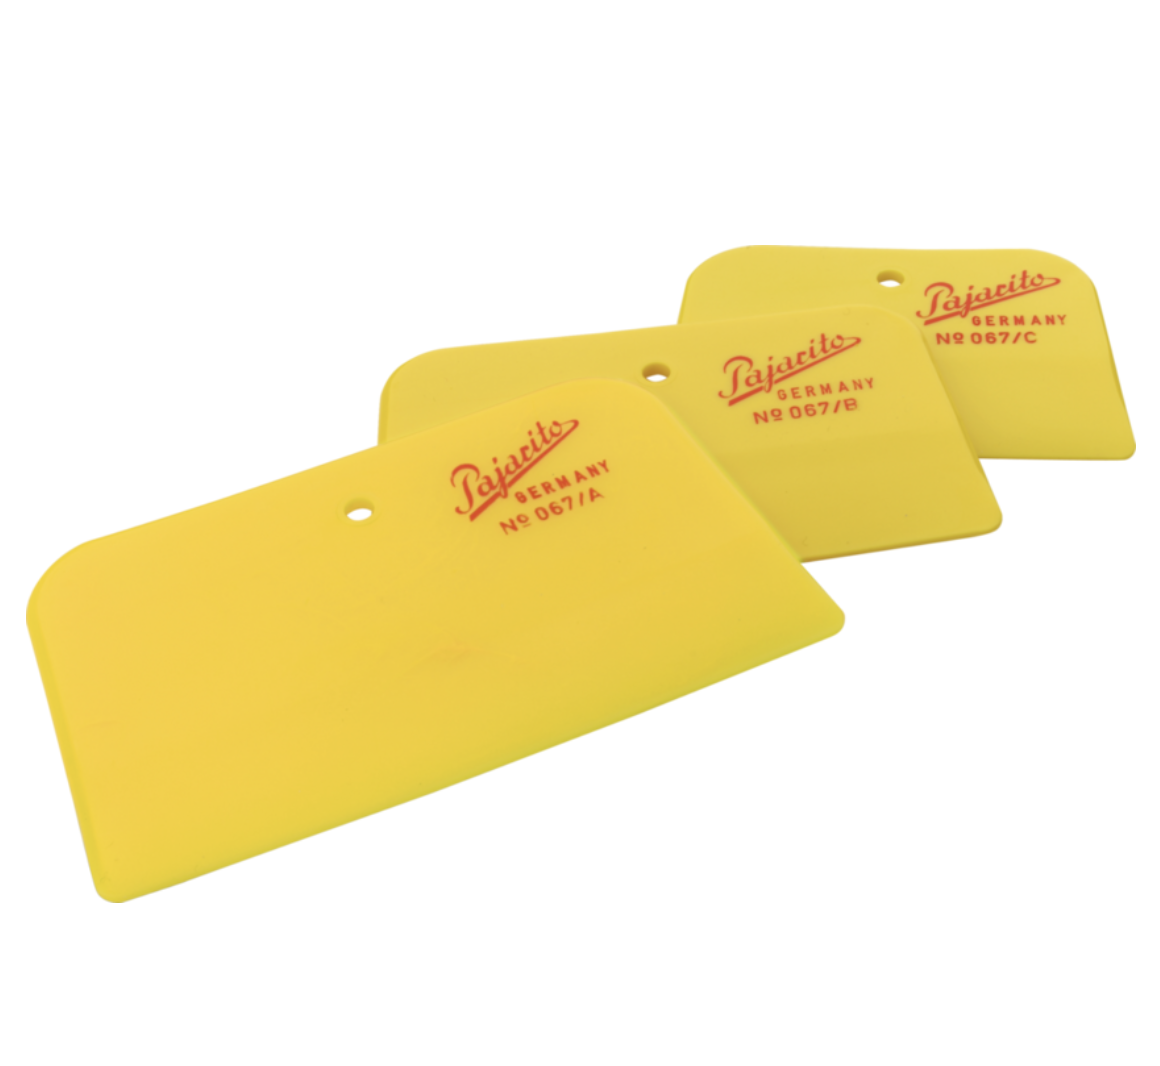
- Use a squeegee to apply the filler coat to the bottom, rails, and fin boxes. At this stage, install the fin plugs as usual.
- After 1 hour of drying time (epoxy) you can close the plug with a tape and start the bottom lamination with a free lap around the rails.
TIP: After 30 min to 1h go back on the board to reduce epoxy drops and press the free lap against the board again.
Video Tutorial
Product recommendations
STEP 5
Laminating
- After 4 hours, once the epoxy is no longer sticky, flip the board and repeat the process on the other side. This lamination technique ensures a stronger bond for the epoxy. If you prefer to sand between the laminations when it’s fully cured , there is no problem when working with agave.
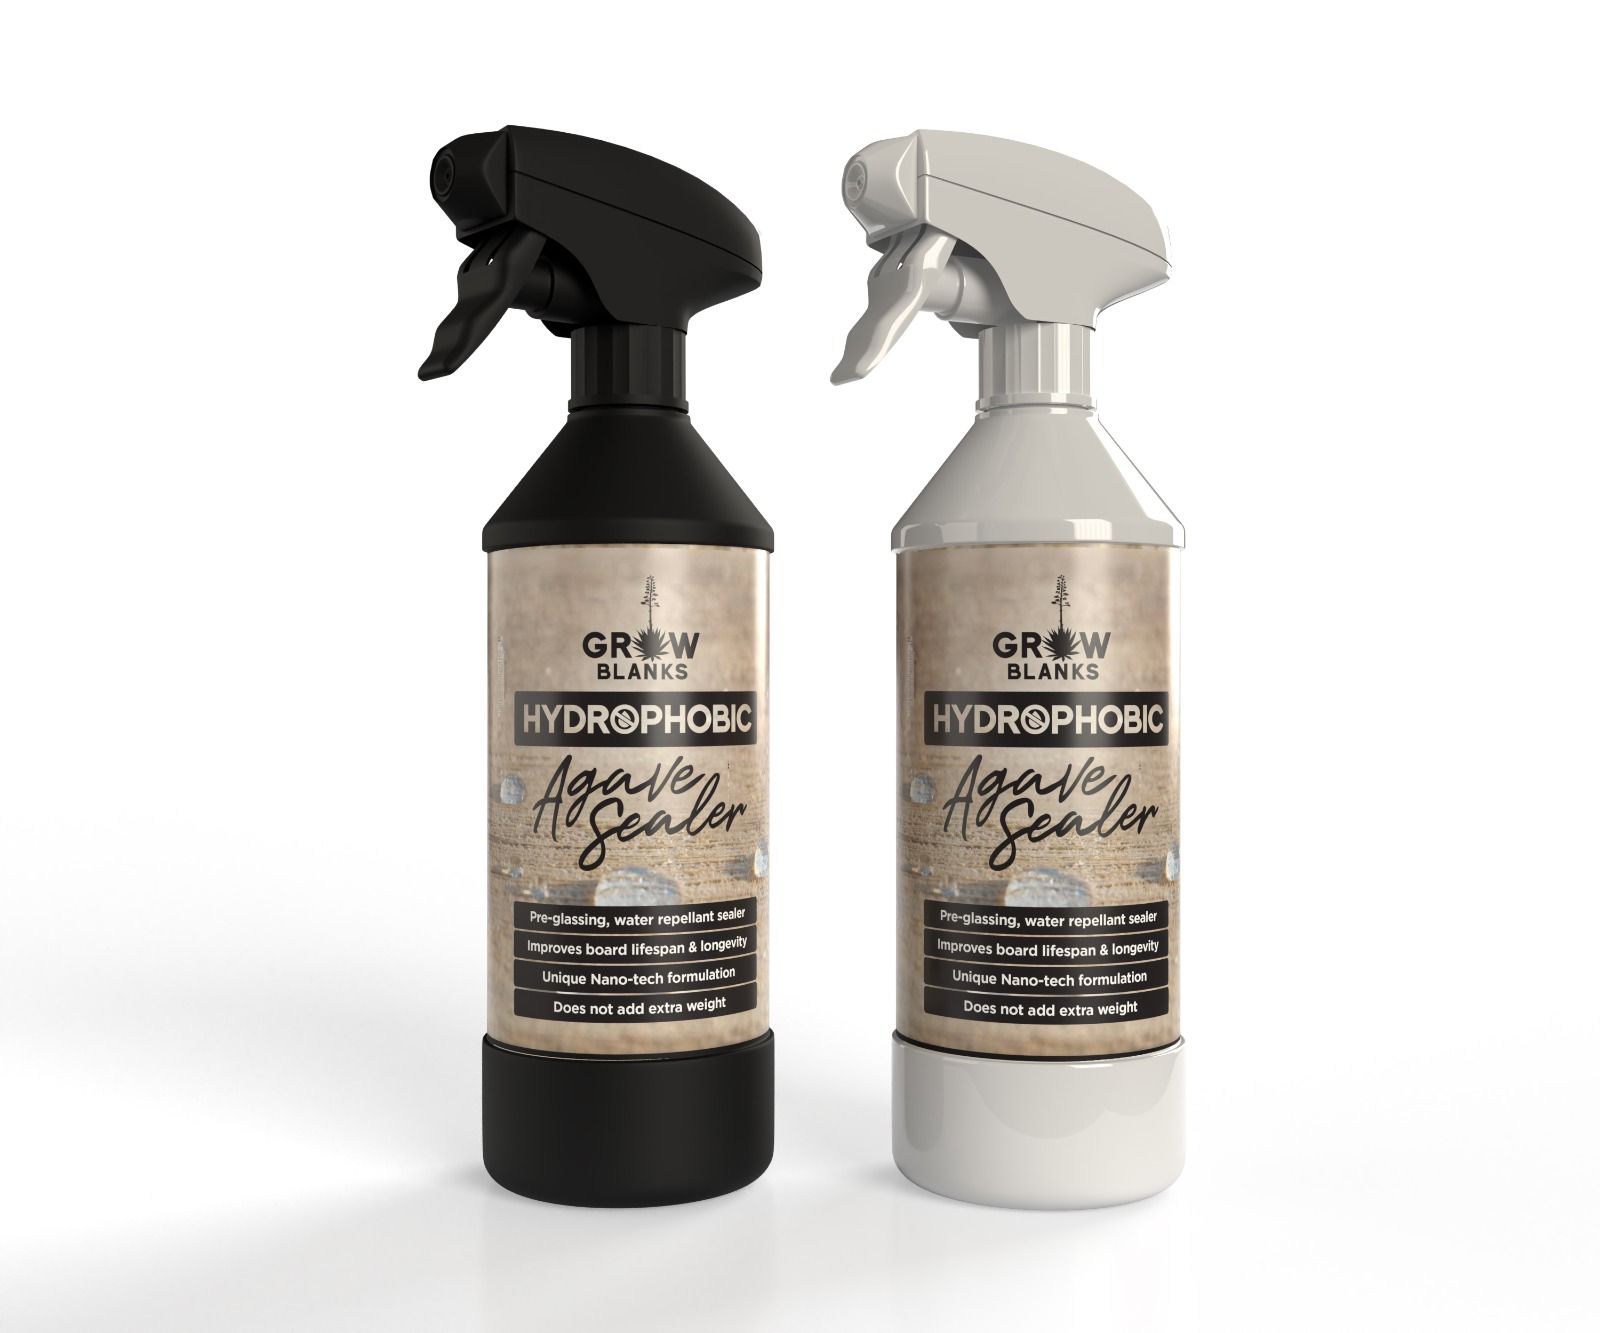
TIP: For extra light boards and deeper impregnation, first seal the entire board, especially the rails and bottom, with our hydrophobic sealer. This step is done before the Airosil sealer/filler. Avoid sealing the fin plugs to ensure they are well infused with epoxy and securely bonded. - ADDITIONAL TIPS FOR WORKING WITH COLORS: For tinted resin, use a cut lap technique during sealing. For spray colors, seal the entire board first, lightly sand it, and then spray the colors as usual on the filler coat before lamination.
Video Tutorial
Product recommendations
YouTube Channel
Check out our YouTube channel for more tips on sustainable surfing and shaping!
Did you know that we also have sustainable surf products?

